

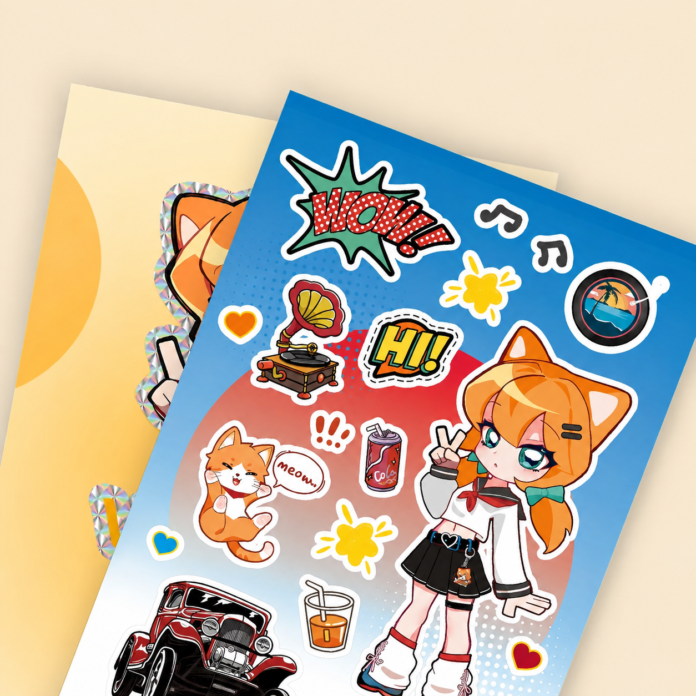
Your illustration looks perfect on screen. The colors glow, the linework is clean, and your character’s expression feels exactly right.
But will all of that survive as a two-inch sticker?
Sticker design is not simply a matter of saving your artwork and clicking “upload.” Size, color, cut shape, and file setup can change how your design turns out in print.
Start With the Sticker, Not Just the Illustration
It is easy to jump straight into polishing the artwork, but the sticker material is what sets the direction for the whole design. Colors, outlines, and transparent areas can behave very differently on white vinyl, clear material, or a holographic finish.
The table below gives you a quick comparison to help you choose the right sticker type for your artwork.
| Sticker type | Works well for | What to consider |
| White background | Detailed art and bold colors | The white base keeps colors more predictable |
| Clear | Minimal art and negative space | The surface underneath can affect pale areas |
| Holographic | Bold silhouettes and simple shapes | Fine details may compete with the reflective effect |
| Sticker sheet | Expressions, icons and themed sets | Every small design must remain readable |
Ask yourself: “What should the material add to this design?” If the answer is “nothing,” a clean white background may be the strongest choice.
Build the Artwork at Its Final Print Size
Working on a huge canvas can hide problems. Thin lines, small text, and delicate facial details may look beautiful at 400% zoom but disappear at the actual sticker size.
Create your artwork at the same size you want the final sticker to be. For raster images, use 300 DPI at that size so the design stays sharp. Making a small, low-quality image bigger later will not improve it and may make it look blurry.
When preparing artwork for cheap custom stickers, review the file guidelines on the Vograce product page before exporting. The required color mode, bleed, image dimensions, and file format may vary by sticker type.
- Pro Tip: Preview your sticker at 100% before exporting. If the text or small details are hard to see, print a quick paper test at the final size to catch sizing issues early.
Understand Bleed, Cut Lines and Safe Areas
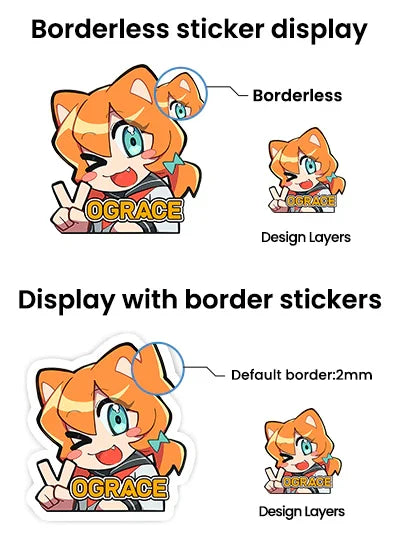
These three terms solve simple problems:
- Bleed extends the background beyond the final trim so small cutting shifts do not leave a white edge.
- The cut line shows where the sticker will be trimmed.
- The safe area keeps important details away from that trim.
Do you need to draw the cut line yourself? Not necessarily. Some printers create it, while others provide a template. Follow the supplier’s instructions exactly. For full-bleed stickers, Vograce requires an extra 2 mm of artwork on each side and advises artists not to include their own cut line.
Keep faces, signatures, and lettering comfortably inside the edge. Hair tips or stars can extend outward, but the design should still look intentional if the cut shifts slightly.
Simplify Without Losing Your Style
Small stickers reward clarity. That does not mean your art must become boring; it means every element should earn its space.
Before exporting, check for:
- Outlines too thin to stay visible.
- Text that only works when enlarged.
- Similar colors that blend together.
- Important details too close to the trim.
- Rough transparent edges.
- Shadows or glows that muddy the silhouette.
Try the “three-second test.” Glance at the design at final size. What do you notice first? Ideally, it should be the character, expression, logo, or message—not a busy background.
Choose a File That Preserves the Artwork
Use the format requested by your printer. Transparent PNG works well for finished raster art, while layered PSD preserves editable elements. AI or PDF can suit vector designs.
Also check the required color mode. Screens display RGB light, while commercial printing commonly uses CMYK inks, so some bright screen colors cannot be reproduced exactly in print. If the printer supplies a specific CMYK profile, use it and review the converted colors before exporting.
Run a Final Preflight Check
Before uploading, confirm that:
- Dimensions match the ordered size.
- Raster artwork is 300 DPI at final size.
- The file meets the printer’s color and format requirements.
- Bleed and safe areas are correctly prepared.
- Text, spelling, and quantities are correct.
- Transparent areas and layers behave as intended.
- The exported file opens properly.
Step away for a few minutes and check it once more. Fresh eyes catch surprising mistakes.
Bring Your Sticker Design to Life With Vograce
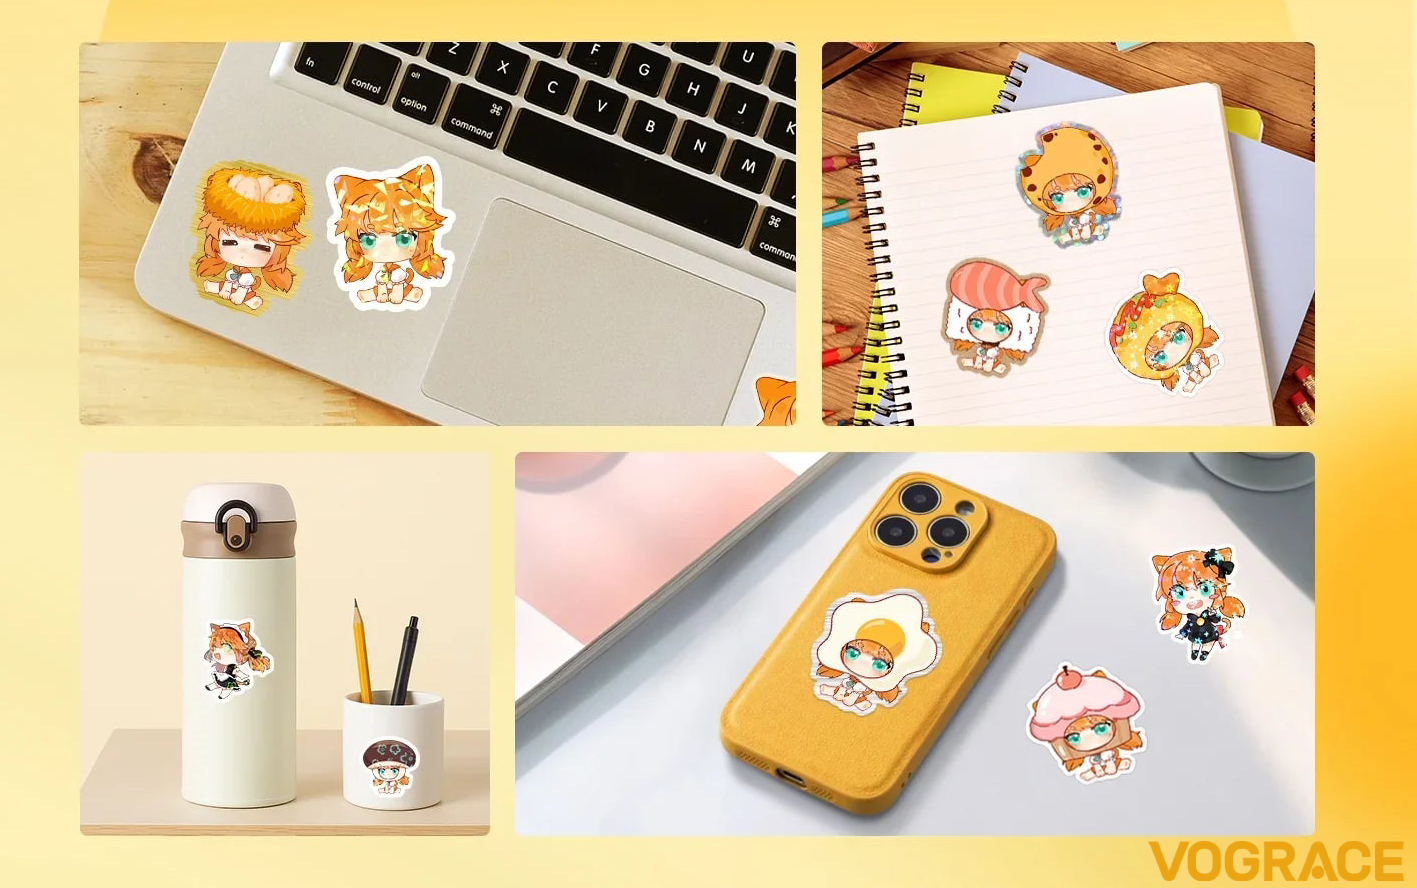
Once your artwork is ready, Vograce can handle the printing and cutting while you focus on the creative side.
Upload your design, choose the size, shape, material, and finish, then follow the file requirements listed on the product page. You can explore exciting options like die-cut, vinyl, holographic, matte, glitter, clear, and washi stickers.
Whether they are for your shop, packaging, gifting, or personal collection, Vograce handles the production and turns your design into stickers made to match your vision.

