

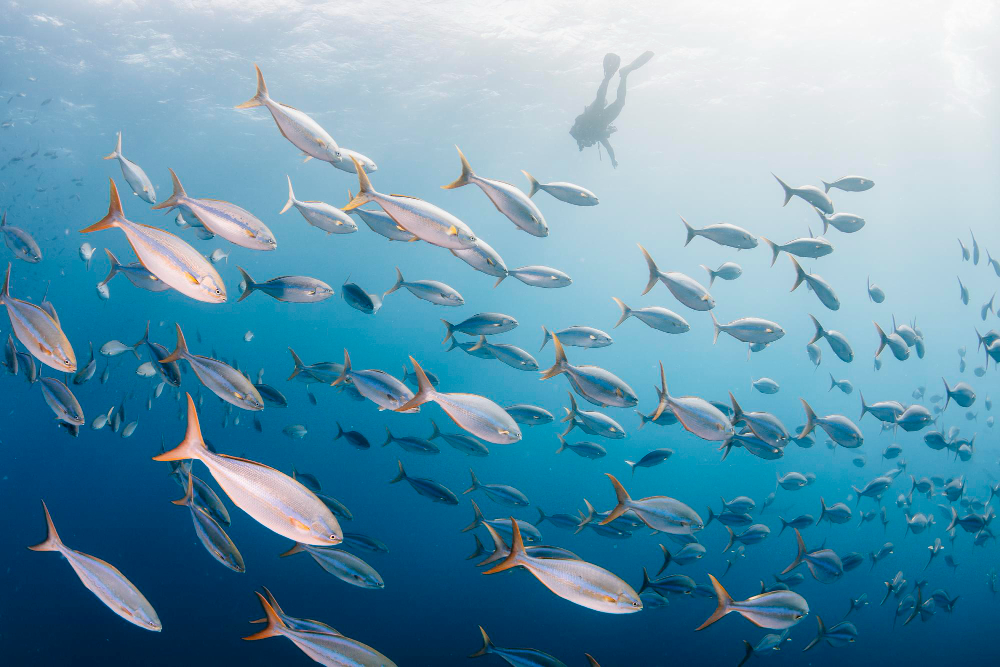
Water is a strange medium for a photographer. It swallows color in a fixed order, red first, then orange, until everything past about 20 meters looks like it was shot through a blue gel. Anyone who’s come back from a reef with a memory card full of murky turquoise frames has met this problem. Raja Ampat, off the western tip of New Guinea in eastern Indonesia, is where a lot of photographers go to solve it, because the reefs there are dense and shallow, and the equatorial sun is strong.
The region holds more recorded species of reef fish and coral than anywhere else surveyed, spread across roughly 1,500 islands and reef-fringed cays. For an image-maker that density is the draw. A single coral head can hold a wide-angle composition and half a dozen macro subjects at the same time, and the shallow reef flats catch enough light to work without artificial lighting at all.
Getting to that light is the hard part, since the best reefs sit hours apart by boat. In Raja Ampat, a room with an ocean view can have a different backdrop each morning, and Neptuneliveaboards.com, a Raja Ampat liveaboard operator, reflects a way of traveling where accommodation moves with the itinerary rather than anchoring visitors to one location. For photographers that matters in a specific way. The boat moves overnight and anchors near the next reef, so the first dive can start in the low, raking light of early morning, which is the light most land-based photographers would get up at 5am to catch anyway.
Why Colour Disappears
The physics is simple enough to work with. Water absorbs long wavelengths quickly, so reds fade within the first five metres or so and oranges not long after. The deeper the subject and the further the lens from it, the more water the light travels through, and the bluer the picture gets.
There are two ways around it.
- Get closer, because every metre of water removed between lens and subject brings back colour and sharpness.
- Add your own light with strobes, or correct the white balance for the depth you’re shooting at
In practice most photographers combine both, especially on deeper walls.
What to Bring
Kit choice depends more on budget and patience than on talent. A rugged compact like the OM System TG-7 (in its matching housing) handles macro surprisingly well. Mirrorless cameras in aluminium housings give far more control. But they’re heavy and expensive to insure. Action cameras with a red filter work for video in bright shallow water and struggle almost everywhere else.
- A wide-angle lens behind a dome port for reefscapes and schooling fish
- A macro lens for pygmy seahorses and nudibranchs
- Pack silica gel sachets in the housing, since they absorb toisture that would otherwise fog the port in tropical humidity.
Composition Underwater
Shoot upwards wherever possible. A subject framed against open water or the surface stands out from the reef behind it, and from below the surface appears as a bright circle of sky roughly 97 degrees across, an effect known as Snell’s window. Keep strobes out to the sides and angled slightly away from the subject, so the light doesn’t bounce off particles in the water and scatter white specks across the frame (photographers call this backscatter). And shoot in RAW, since white balance underwater is hard to judge on a small screen and much easier to fix later.
The First-Morning Flood
Housing floods are the most expensive mistake an underwater photographer can make, and they’re usually caused by something small. A single hair or grain of sand trapped on the main O-ring is enough. At the camera table on the back deck at 6.10 am on the first morning of a trip, everyone rushes to assemble kit before the briefing. Someone closes a housing without checking the seal, rolls off the tender, and sees a bead of water inside the port at eight meters. If they surface immediately with the housing pointed down, they can sometimes save the camera. If they finish the dive, it usually can’t, and the rest of the trip gets shot on a phone. Most experienced photographers now check every O-ring twice and do a short test dip in the rinse tank before the first dive of each day.
Check the seal in daylight before the first dive of every day.
For Snorkelers With Cameras
Some of the best images in the region are made from the surface. On a Raja Ampat liveaboard snorkeling itinerary, the reef flats around Arborek and Friwen sit a meter or two down, close enough for natural light to carry full color. No strobes needed. Split shots, half above and half below the waterline, are the classic Raja Ampat image, with jungle-topped islands above and coral below. They need a dome port and calm water, and both usually line up early in the morning.
On a Tuesday in November, the bay at Arborek can be flat enough at dawn to reflect the village jetty almost perfectly. Calm mornings like that usually last until the wind picks up around 9 am.
The First Underwater Photographers
The French biologist Louis Boutan is usually credited with taking some of the earliest underwater photographs, in the Mediterranean off Banyuls-sur-Mer in the 1890s. His exposures could run to half an hour, and he lit some of them with magnesium flash powder burned in an oxygen-filled barrel. Modern strobes recycle in under two seconds.
On Board and On the Reef
Most boats that cater to photographers keep a dedicated camera table with charging points and a freshwater rinse tank, and on a Raja Ampat liveaboard it’s worth asking how many outlets there are per guest before booking. Indonesian sockets take the two-pin European plug.
Guides on a Raja Ampat diving liveaboard will also expect photographers to keep their fins and knees off the coral, and many limit how many strobe shots a pygmy seahorse can take before the group moves on. Those rules protect the subject, since damaged coral grows back slowly. Before the trip, practice with the full rig in a pool or on a local shore dive, since learning a housing’s controls at 18 meters with a manta overhead tends to end in blurred frames.

